There is a story behind the name of this dish, and the story is basically that it tastes good enough to inspire a proposal.
That may or may not be true depending on the company at your table, but what is reliably true is that it lands on the short list of easy weeknight chicken dinners that taste like you cooked all day. Tender chicken cutlets in a silky garlic cream sauce with sun-dried tomatoes, parmesan, and a kick of red pepper. It comes together in under thirty minutes and uses one pan from start to finish.
Ingredients
For the Chicken
- 3 large boneless, skinless chicken breasts (about 1½ lbs)
- 1 tsp kosher salt, divided
- ½ tsp freshly ground black pepper
- ⅓ cup all-purpose flour, for dredging
- 2 tbsp olive oil
- 2 tbsp unsalted butter
For the Sauce
- 4 cloves garlic, finely minced
- 1 cup low-sodium chicken broth
- 1 cup heavy cream
- ½ cup freshly grated parmesan (about 2 oz)
- ⅓ cup oil-packed sun-dried tomatoes, drained & roughly chopped
- 1 tsp red pepper flakes (or ½ tsp for milder heat)
- ½ tsp dried oregano
- ½ tsp dried thyme
- Small handful fresh basil leaves, torn, for serving


Good prep is good cooking: mise en place before the heat goes on.
Instructions
- Butterfly the chicken Lay each chicken breast flat on your cutting board. Place your palm gently on top to steady it, and with a sharp knife held parallel to the board, slice horizontally through the breast to create two thin cutlets. You should end up with six cutlets, each about a quarter inch thick.

- Pound to even thickness If any cutlets are still thicker than a quarter inch, cover them with plastic wrap and pound them lightly with a rolling pin or the bottom of a heavy pan until they are uniform. Even thickness means even cooking.

- Season and dredge Pat the cutlets dry with paper towels. Season both sides with half the salt and all the pepper. Spread the flour on a plate, press each cutlet into it to coat both sides, then shake off the excess. You want a thin, even coat, not a thick crust. The flour is what gives the sauce something to cling to.


- Sear the chicken Heat the olive oil and butter together in a large cast iron skillet over medium-high heat until the butter is melted and starting to foam. Working in two batches so you do not crowd the pan, sear the cutlets for about 3 to 4 minutes per side, until they are golden brown and cooked through. Transfer them to a plate and tent loosely with foil.


- Build the sauce Reduce the heat to medium. Add the minced garlic to the same pan and cook for about 30 seconds, stirring constantly, until fragrant. Pour in the chicken broth and use a wooden spoon to scrape up all the browned bits stuck to the bottom of the pan. Those bits are flavor.
- Cream it Stir in the heavy cream, parmesan, sun-dried tomatoes, red pepper flakes, oregano, and thyme. Bring the sauce to a gentle simmer and let it cook for 3 to 4 minutes, stirring occasionally, until it thickens enough to coat the back of a spoon.
- Bring it together Return the chicken cutlets to the skillet along with any juices that collected on the plate. Spoon the sauce over the top and let everything simmer together for another 2 to 3 minutes so the chicken can soak up the sauce. Taste and adjust seasoning with the remaining salt and a few more grinds of pepper if needed.


- Serve Scatter the torn basil over the top and serve hot, ideally over buttered pasta, mashed potatoes, or rice. A simple green salad on the side balances out the richness.


Notes from the Kitchen
- Grate your own parmesan Pre-grated cheese has anti-caking agents that prevent smooth melting. Buy a block. The difference in the final sauce is immediately noticeable.
- Skip the half-and-half This sauce needs the fat content of full heavy cream to thicken properly. Half-and-half or whole milk will stay thin no matter how long you simmer.
- Use the jar oil A teaspoon or two of oil from the sun-dried tomato jar added when you sauté the garlic deepens the flavor considerably. Free flavor, so don’t skip it.
- Chicken thighs work too Boneless skinless thighs are a great substitute. They stay juicier than breasts and need just a few extra minutes per side to cook through.
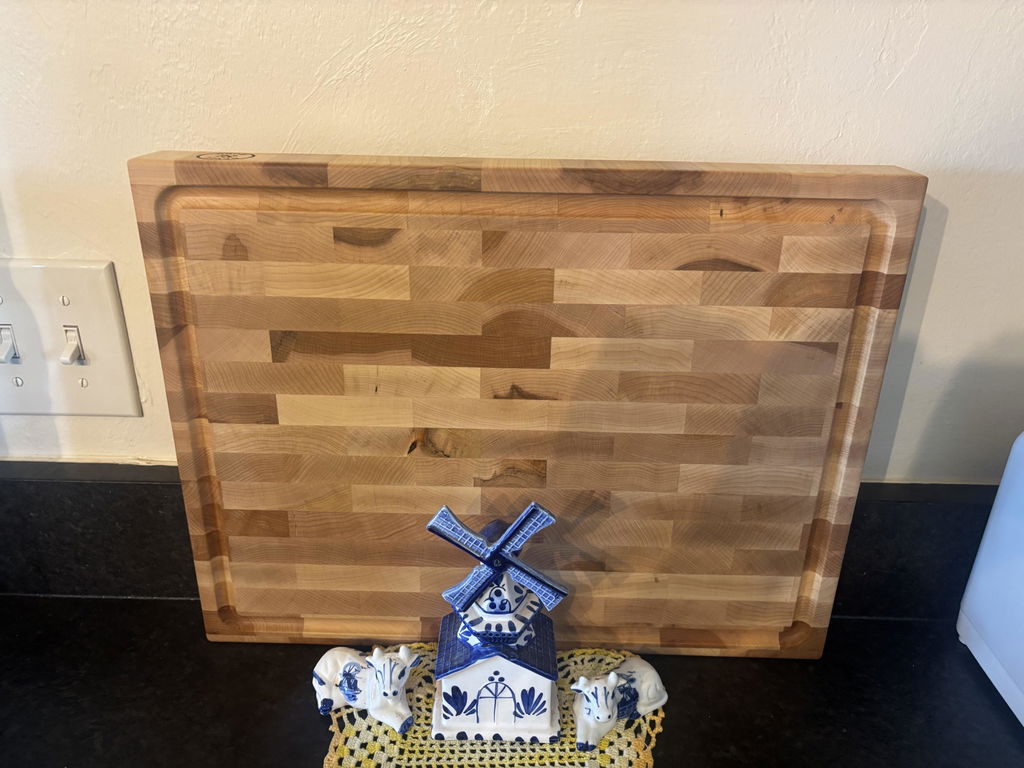
Shop the Maple Cutting Board →
Storage
Leftovers keep well in an airtight container in the refrigerator for up to 3 days. Reheat gently on the stovetop over low heat, stirring in a tablespoon or two of cream or broth to loosen the sauce as it thickens. Avoid the microwave on high power, which tends to break the cream sauce and toughen the chicken. Freezing is not recommended, as cream sauces tend to separate and turn grainy when thawed.
Why is it called Marry Me Chicken?
The name comes from the idea that the dish is good enough to prompt a marriage proposal. It is a modern internet name for a creamy garlic chicken with sun-dried tomatoes and parmesan. There is no real history behind it beyond that the sauce is rich enough to make an impression at the dinner table.
Can I use something other than heavy cream?
No, stick with full heavy cream for this sauce. Half-and-half, whole milk, or evaporated milk do not carry enough fat to thicken and will stay thin no matter how long you simmer. If you need the sauce lighter, reduce it a few extra minutes rather than swapping the dairy.
What should I serve with Marry Me Chicken?
Serve it over something that soaks up the sauce, like buttered pasta, mashed potatoes, or rice. A simple green salad or steamed broccoli on the side cuts the richness. Crusty bread also works well for wiping the skillet clean.
Can I make Marry Me Chicken ahead of time?
Yes, you can cook it up to 3 days ahead and store it in an airtight container in the refrigerator. Reheat gently on the stovetop over low heat, stirring in a tablespoon or two of cream or broth to loosen the sauce. Skip freezing, since cream sauces separate and turn grainy when thawed.
Can I leave out the sun-dried tomatoes?
You can, but you lose the tang and color that balance the cream. If you skip them, add a squeeze of lemon or a spoonful of tomato paste at the sauce stage to keep the dish from tasting flat. Chopped roasted red peppers make a decent stand-in.
When was this article last reviewed?
This recipe was last reviewed in September 2026 by the Bevel & Bond team.
Every clean cutlet starts with a stable board. Those thin, even butterfly cuts are far easier on the end-grain maple cutting board that holds an edge and keeps the chicken from sliding.