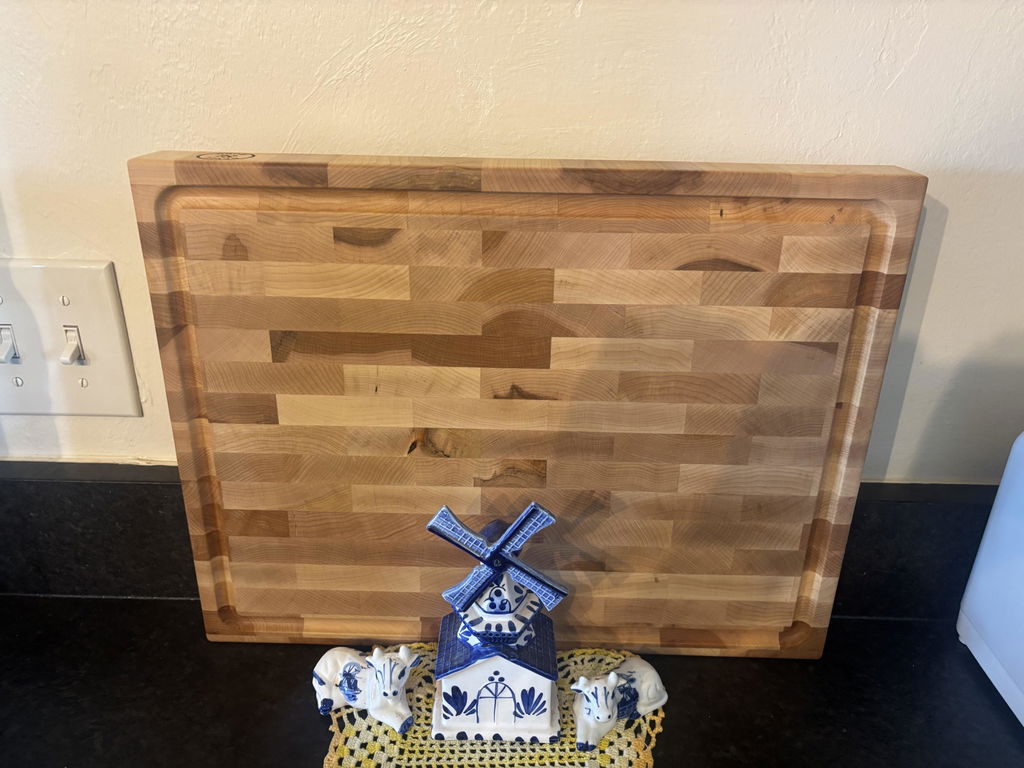
Refinishing a cutting board takes one afternoon and about ten dollars of supplies: sand through 80, 150, and 220 grit with the grain, wipe off the dust, flood the bare wood with food-safe mineral oil overnight, and seal it with board balm. That is the whole process, and it erases years of knife marks, stains, and gray, rough patches.
The trick is knowing when the board has earned it. Refinishing removes wood, so it is the treatment for damage that oiling cannot fix, not part of the monthly routine. Here is how we decide, and the exact process we use on our maple cutting boards that come back to the workshop.
When should you refinish a cutting board?
Refinish when the surface has problems that survive a proper oiling: deep knife grooves that trap food, stains that will not scrub out, a dry, rough texture that stays rough after conditioning, or shallow uneven spots. If the board still feels smooth and looks healthy after regular oiling, put the sandpaper away; a board in a good oiling routine can go 5 years or more between refinishes.
What do you need to refinish a cutting board?
- Sandpaper in 80, 150, and 220 grit
- An orbital sander for large boards (optional)
- Food-safe mineral oil
- Board balm (mineral oil + beeswax) to seal
- Clean, lint-free cloths
- A vacuum or damp towel for dust
Food-safe finishes only. Varnish, furniture polish, and anything from the woodworking aisle that is not rated for food contact stays off a cutting surface.
How do you refinish a cutting board step by step?
Step 1: Clean the board
Wash with warm water and mild soap, then dry it completely. Oils, food residue, or moisture left on the surface will clog the sandpaper.
Step 2: Sand through the grits
Start at 80 grit to remove the deep marks and stains, move to 150 to level the surface, and finish at 220 for a silky feel. Sand with the grain the whole way; cross-grain scratches take more work to remove than the knife marks did.
Step 3: Remove every trace of dust
Vacuum or wipe with a damp, lint-free cloth. A clean surface is what lets the oil soak in evenly instead of blotching.
Step 4: Oil the board
Apply food-safe mineral oil generously to every face and edge, let it soak overnight (6 hours minimum), then wipe off the excess. Freshly sanded wood is bone-dry, and this is the step that brings it back to life.
Step 5: Seal with board balm
Buff in a thin layer of board balm. The beeswax forms a barrier on top of the oiled wood that repels water, stains, and food juices, which is what makes the refinish last.

What keeps a refinish from going wrong?
Three rules. Refinish both faces every time, because sanding one side changes how the board takes on moisture and an unbalanced board cups. If the board is lightly warped, clamp it flat before you sand. And once it is done, go straight back to oiling every 3 to 4 weeks; the routine is what stretches the next refinish years into the future. Our oiling guide covers that routine.
Seal the refinish properly. Bevel & Bond Board Balm is the food-grade mineral oil and beeswax blend we finish every board with before it ships. Shop the collection →
How often should you refinish a cutting board?
Rarely. A board you oil every 3 to 4 weeks can go 5 years or more before it needs sandpaper. Refinishing removes wood, so you save it for a surface that oiling no longer rescues: deep scarring, set-in stains, or a chronically rough feel. If you are reaching for the sander every few months, the fix is a better oiling habit, not a coarser grit.
What sandpaper grit should you use to refinish a cutting board?
Start at 80 grit, move to 150, finish at 220. The 80 grit cuts out deep knife marks, the 150 erases the scratches the 80 left behind, and the 220 brings back a silky surface. Skip a grit and the next one cannot hide the gouges underneath, so work through all three in order and always sand with the grain.
Can you use an orbital sander on a cutting board?
Yes, and on a full-size board it turns an hour of hand-sanding into a few minutes. Run the same 80, 150, 220 progression and keep the sander moving so you do not dish out a low spot. Finish the edges and any spot the pad cannot sit flat on by hand.
Do you have to oil a cutting board after sanding it?
Always. Sanding strips the old finish and opens the grain, so a freshly sanded board is bone-dry and will crack if you leave it bare. Flood it with food-grade mineral oil, let it soak 6 hours or overnight, wipe the excess, then seal it with a beeswax board balm. Skip this and you have undone the whole refinish.
Can you refinish a warped cutting board?
Sometimes. Light cupping can sand flat or relax with even moisture and slow drying, but a badly warped or cracked board is usually past saving. Clamp it flat before sanding and always refinish both faces so the board dries evenly and does not cup again. If it has split along a glue joint, it is replacement time.
When was this article last reviewed?
This refinishing guide was last reviewed in July 2026 by the Bevel & Bond workshop team and reflects our current process for restoring a hardwood cutting board.
Ready to bring a tired board back to life? Seal your fresh sanding with Bevel & Bond Board Balm, a food-grade mineral oil and beeswax blend, or start fresh with a new end-grain maple board from our full collection.
Keep reading
- How to Remove Knife Marks and Renew Your Cutting Board
- How to Oil a Cutting Board (Step-by-Step Guide)
- Best Cutting Board Oil: Mineral Oil vs. Beeswax vs. Board Cream
Ready to choose your board? Browse all our cutting boards.